

ACParadise Network:
American Cosplay Paradise
American Cosplay Experience
American Cosplay Snapshots
Cosplayer karmada > Costume of Alibaba Saluja (Magi Labyrinth of Magic)
- Most Recent Photo
- 11-14-2012
- Series
- Magi Labyrinth of Magic
- Character
- Alibaba Saluja
- Year Completed:
- 2012
- Construction Difficulty:
- Normal
- Costume worn at:
- Youmacon 2012
About this Costume
- Construction Details:
-
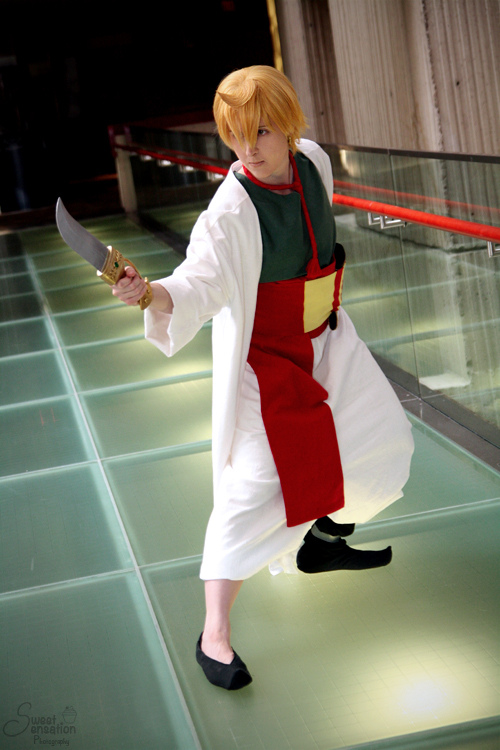
I made this costume out of mainly linens, and linen-textured fabric. Because the costume itself is so simple, I needed to make sure it still would "pop". All pieces are lined.
The coat and pants were made with a white linen, and a white muslin lining. Coat is an old modified McCall's coat pattern, and the pants were a handmade pattern based on a traditional Salwar pants pattern.
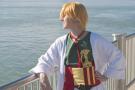
The shirt is just a lined tunic I made from an old peasant shirt pattern. The waistbands are two separate pieces. The long one is over 2 yards long, and I carefully wrap it and fold it around my waist. Then, I cover it with the top band (with the yellow stripes). The yellow stripes are a yellow linen which I have used a webbing to adhere, and then satin stitched up the sides of each stripe. The top waistband is held in place with 4 hook and I-bars.
Red linen was washed a bajillion times due to bleeding issues. It's much better now and won't turn my outfit pink.
The shoes are actually covered dress shoes I got from goodwill. I created the shoe covering myself, and it is made from canvas, underlined with a black twill and interfacing to keep its shape. Covers are held on with E6000 glue. Grey bands are a faux leather.
The knife is constructed out of polystyrene sheeting, some model magic, some super sculpey clay, resin molding, and of course inner parts like dowel rods and craft foam.
The blade is made of creased polystyrene sheeting, and the hilt was built up over time, and then primered, and painted the metallic colors. Green gem was made by me from easy cast resin. Filigree pattern was cast from resin, and the bead and curved handle are super sculpey. Pommel, hilt base are both made from polystyrene sheeting built up, and the curved part near the base of the sword is built out of model magic (unfortunately has also been found out to be less sturdy than desired.)
I created his earrings myself (as I have pierced ears too!) and they are made out of super sculpey, and painted. - Personal Thoughts:
- I was introduced to this series by a friend of mine, and I instantaneously fell in love with the show and the manga. I needed to make a new costume to go to a new convention with, and decided this one would be made. Well that, and I just happened to have a wig lying around that was the right color, and all the fabric I found was plentiful and the right color.
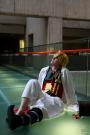
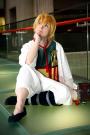
I want to take him to ALL the conventions, because he's very comfortable to wear and fun to play.
Wig Details
- Styling Notes
- I had purchased this wig at a convention some time ago, and had lost the actual name and color of this wig, so I am estimating. It was not a wig I would have thought would worked, but I had it lying around and it was the color I needed, so I set to trimming it (as the hair needed to be much shorter). I spent a good 4-5 hours just trimming down this wig, and layering out the bottom half so it would appear slightly disheveled and spiky. I then trimmed the bangs to the length I needed, and began to style the little "cowlick" he has in the front of his hair. I gently pulled the hair I wanted into a spike with a small comb,and trimmed it down to about what I wanted. I started with an inner layer, and sprayed it with Got2B Glued spiking spray and used a hairdryer on low to set it. I then used a little bit of Sobo glue at the very tip and let it dry. I then realized it needed more hair to it, so I took some from the top of the bangs and swirled it up into the spike as well, using the same spray, hairdry, sobo glue technique. Got2B Glued Spiking spray was used on the rest of the wig to just fluff it out, and will most likely need to be reapplied with each use.
- Wig Review
- This was a lovely wig to work with (as is always with Arda). There was a LOT of hair to go through, and the ability to carefully blowdry and set it was amazing.
It just proved to me that you sometimes don't need to start with the exact shape your looking for to get the right look!
Add a Comment


-
 128225 VisitorsAcy's Pick: 04/2015
 -
- Cosplayer Info
- Costumes Worn
- Costumes Made
- Props
- Wigs
- Favorites
- Videos
- Convention History


Sorry, you must be a registered user of and logged in to view and add comments. Either log in or register now!