

ACParadise Network:
American Cosplay Paradise
American Cosplay Experience
American Cosplay Snapshots
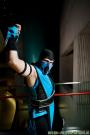
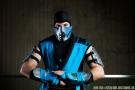
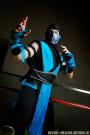
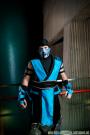
Cosplayer The Letter Jay > Costume of Sub-zero (Mortal Kombat)
- Most Recent Photo
- 03-21-2014
- Series
- Mortal Kombat
- Character
- Sub-zero
- Special Variation:
- 2011
- Year Completed:
- 2013
- Construction Difficulty:
About this Costume
- Construction Details:
-
This costume is incomplete and I will fix and update this as more things come out, which means that even though these lovely pics are here, they will be swaped out. :(
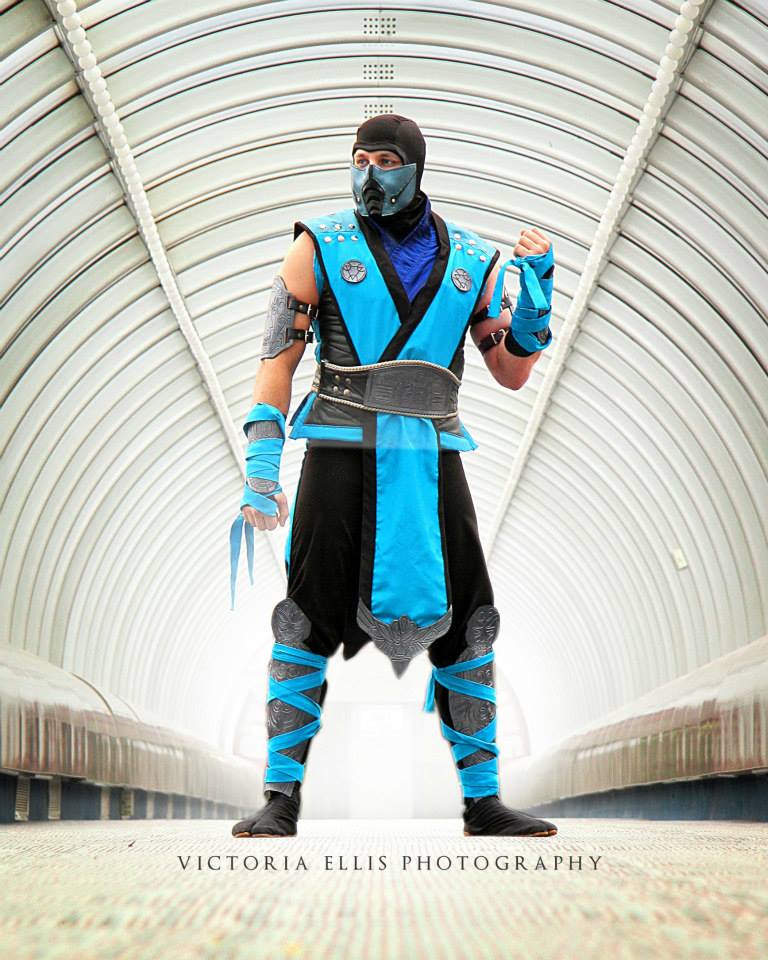
the hood is based on an underaromor running hood, but leaves a bit to be disired in the crispness department, as there is a bit of bunching around the neck area. This will be modified into a power ranger style hood, that comes down over the the shoulders to and loops under the arms in order to to keep the neck area from bunching or shifting.
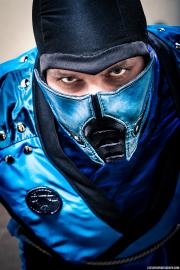
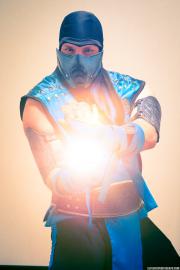
The mask is my version 2, but will take one more try to get the effect that I desire. I molded craft foam to my face, and used tile adhesive to stick pleather to the back of it. The pleather was instrumental for attaching screen for the vents as well as velcro to get it to stick to the hood. The improvements come along when i redo the pleather and stitch some wire on the inside. I will do this so that I can get more form from the mask and get it to curve around my face a bit better.
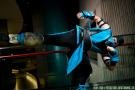
On to the armor, it is made from pleather, craft foam and camping matt. I coated it with plastidip and then painted it. I feel that I again dont get the shape that I want, so i will have to remake the greaves and bracers. What will happen is that I will mold more craft foam and use multiple layers of it. I also need to make ankle guards as well as the emblem on the belt.
The armor for the forearems and shins are met by velcro at the appropriate locations with half gloves and partial socks.
The belt is double sided pleather with 2 layers of stiff Interfacing to give it more structure. and the edges are decorated with a rope piping. Though I still need to sculpt the demon face for the belt.
The vest that I made is pleather, and foam batting to get that quilted look, and then is closed by means of hook and eye. The trim is the same material as the Tabbard.
For the tabbard i just used the satin for the main part, and then for the shoulders I placed some stiff interfacing to get it to stick out a bit. The trim on the Tabbard is made from the stretch knit that I used on the mask. I know it isnt necessarily the best choice, but I chose to do it that way so tha it would have a sense of unity between the hood and the pants. I do however need to add some snaps to this part of the costume as well as some sculpts of the Lin kuei seal.
The pants are pretty simple, but only actually go to mid calf. they are tight around the waist and flair out, this is done to accomplish 3 goals: 1 keep the pants up; 2 look baggy where necessary; 3 not get too overwhelming by being tucked into the shin guard recepticles.
Lastly I need to order some Tabi instead of using steeltoed boots. - Personal Thoughts:
- Totally revamped the thing, new mask, new armor, updated tabard, and added tabi to the getup.
Add a Comment

-
 129821 VisitorsAce's Pick: 01/2013
 -
- Cosplayer Info
- Costumes Worn
- Costumes Made
- Props
- Wigs
- Favorites
- Convention History


Sorry, you must be a registered user of and logged in to view and add comments. Either log in or register now!