

ACParadise Network:
American Cosplay Paradise
American Cosplay Experience
American Cosplay Snapshots
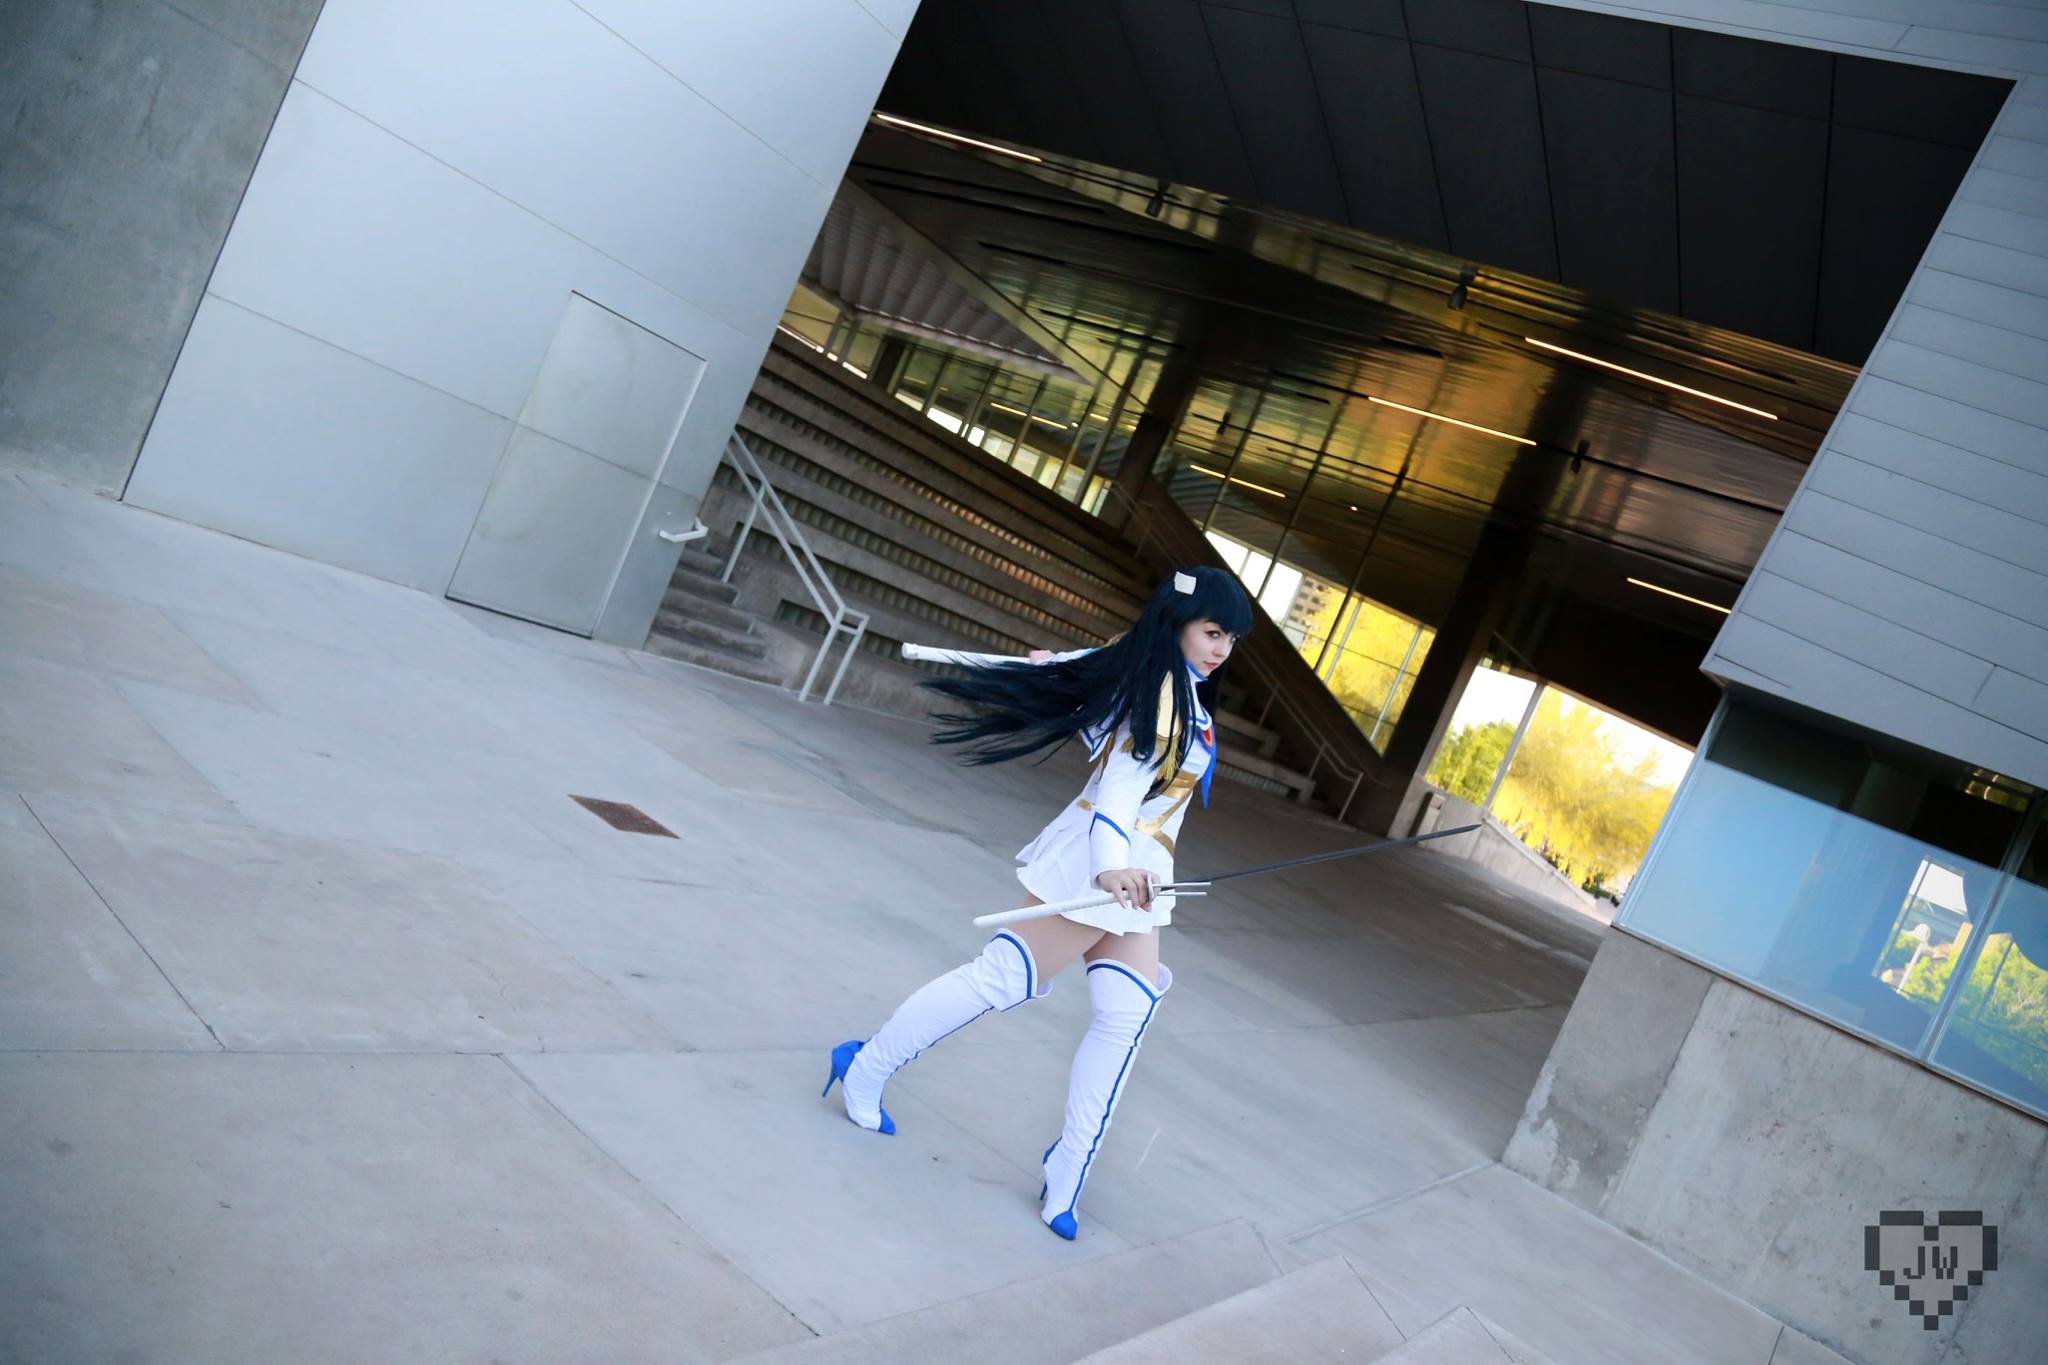
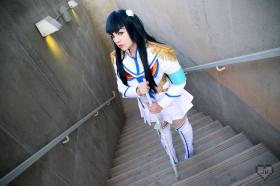
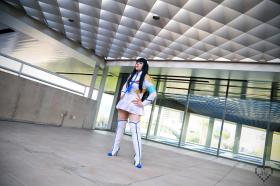
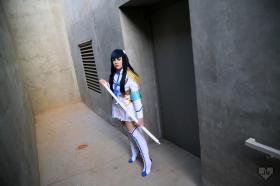
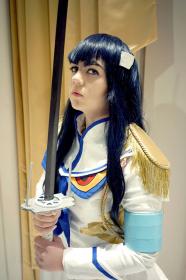
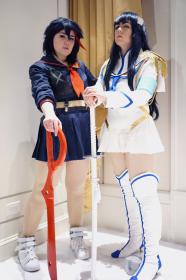
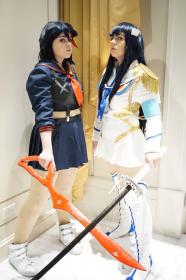
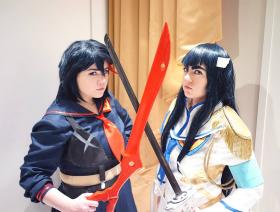
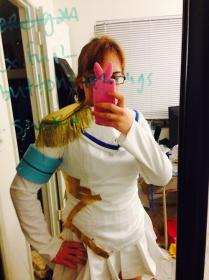
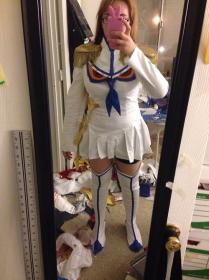
Cosplayer Luluko > Costume of Kiryuuin Satsuki (Kill la Kill)
- Most Recent Photo
- 05-28-2014
- Series
- Kill la Kill
- Character
- Kiryuuin Satsuki
- Special Variation:
- kamui Junketsu
- Year Completed:
- 2014
- Construction Difficulty:
- Difficult
- Costume worn at:
- Katsucon 2014
About this Costume
- Construction Details:
-
LOL SO FOR A SHOW ABOUT CLOTHES YOU WOULD THINK THE ACTUAL CLOTHING DESIGNS WOULD MAKE SENSE BUT NO
Base dress, collar, and boot covers are all made from white cotton stretch sateen. I'd never worked with it before and it is wonderfullllll even though it's more wrinkle-prone than I'd like. All the blue bias tape was made by me from this awesome satin I happened upon at SAS. It was so wonderful I didn't feel the need to use the wrong side of it for once! (Though I did use the wrong side for Junketsu's eyes + scarf ends, because I guess those are supposed to be a slightly different color than the rest of the blue details.)
I started with a princess-seam bodice mockup and I altered the hemline based on how Saku did her Satsuki cosplay. It's not accurate to the original design but it looks much better on an actual human being who lacks noodle person proportions. I made a pleated skirt and eventually attached it to the hem (which look a stupidly long time and was very stressful). The top and sleeves are lined with the same fabric since the sateen was just transparent enough to show the seam allowance.
The collar was an interesting test of my pattern making skills especially considering I had only figured out a few weeks beforehand how to make a proper sailor collar. It looks almost the same but functions COMPLETELY differently. I started with the basic sailor collar shape and manipulated it on my dress form until it sat right, used that pattern to make the collar, made the collar, hated it, fixed the shape, made it again, attached the mandarin collar and bias tape, hand-sewed a zipper in.
The boot covers weren't terribly difficult but they were time consuming since every piece had to be stitched together in a very precise order. As with all my boot covers they were patterned with tape + saran wrap. After refining the pattern with a mockup I patterned out the rest of the details. I realized that thanks to the fabric's 2-way stretch I didn't need to put zippers in them, but that meant having to top stitch the seams with both sides sewn up. And then having to top stitch the bias tape and details that way too. I doubt I'm even making sense but basically I didn't think it would work and it really did and I felt like a fucking wizard. Also the tops have facings sewn to them so that the curve lays nicely and they create a nice point in the front and back where the curves meet. Does that even make sense. WHatever it worked sadly they don't fit as well as I thought they did but trying to take them in means having to undo a lot of the work I already have done so......... we'll see if that happens
My favorite part to make was probably Junketsu's eyes. I noticed with other Satsuki cosplayers this part always seemed a bit off to me... Before I began I sat down and re-watched episode 3 and noticed that Junketsu's eyes look really demonic and scary when it first awakens, but flat every other time they're shown. I really wanted to capture that look of being alive (I mean hello demon clothes kind of the concept of the whole show) so I took a screencap, traced it, and used that as my pattern. Each layer was made from a different color satin (all wrong sides), ironed onto Heat n Bond, doused in Fray Check (NO ONE WARNED ME IT SMELLED THAT BAD), ironed down, and satin-stitched in black, which really helped make it look scary and possessed and sick as hell. I patterned the ends of the scarf as if I had been making a regular seifuku scarf and hand-stitched them to the back of the collar.
The gold designs were probably the most stressful part of the costume since they needed to line up correctly. In my mind this was the one detail that would really make or break the costume and demonstrate my skills. I tried using painter's tape to pattern everything, but holy fuck it did not want to stick for more than five seconds so I immediately attacked all the painter's tape with clear packing tape and would you know it that motherfucker stuck together so I cut all that out traced it onto some yellow fabric I had lying around pinned it to my dress form to see how it all lay and after being really indecisive for a while cut it out of gold spandex. My original plan was to use ultrahold Heat + Bond for the whole thing because fuck trying to top stitch all that on but that didn't go all that great because after the adhesive melted the spandex got its stretch back and it was like two days before I had to leave so I just put a bunch of fabric glue on the back AND THAT WORKED. it came out a little wrinkly though so I would definitely like to remake this part.
The epaulettes were made from layers of craft foam, heavy interfacing, and plastic from an old planner I had saved because I save everything that has the slightest chance of being useful for cosplay. I covered them with gold spandex and glued the trims on. The gold braid started off pink because I literally went to every fabric and upholstery shop I knew of in the greater Phoenix area to try and find gold goddamn braid in the proper size and I didn't so I just spray painted it. because I like spray painting things that shouldn't be spray painted. I really hope before I wear this again I remember to attach them with something other than hot glue and hope.
The arm band is definitely getting re-made just because it turned out too small. Other than that I quite like it. It's just thick craft foam sealed and painted with paint I custom mixed to the proper color. I used Gorilla Glue to attach some short strips of elastic and it stayed on just fine that way and wow you cannot believe how glad I am that the glue held perfectly. I mashed some paint on top of the elastic and sealed the whole thing hours before shoving it in a suitcase (it held up surprisingly well, good for you craft foam)
Bakuzan started as a wooden katana ordered off Amazon that I had shipped to Barracuda's house because I didn't want to deal with trying to get it on a plane. Unfortunately that meant I had almost zero time to do the proper modifications to make it actually LOOK LIKE Bakuzan so right now it's more like Bakazan but I at least painted the blade black like it's supposed to be
All in all I quite enjoyed making this costume and it's honestly the first one I have felt TRULY proud of since I made Mami in 2011. The design's interesting take on the typical seifuku provided a nice mix of "shit I've made before" with "how am I even supposed to pattern that" that provided just enough of a challenge for my skills at the present time. I have a feeling this will be another one that I'd like to remake in a couple of years (MOSTLY BECAUSE I NEVER WANT TO NOT BE SATSUKI EVER) but for now I'm really happy with what I accomplished with this costume.
Major props to Crystallike for her super detailed writeup of her costume because it really helped me when I started working on mine! - Personal Thoughts:
- WHY DID I LET BARRI TALK ME INTO THIS
Wig Details
- Styling Notes
- Styled for me by Barracuda as a Christmas gift! She made my hair clips too.
- Wig Review
- We both agreed on the Raven color mostly because TATTO used something similar for her Satsuki and we really lover her Satsuki
I mean I guess her hair is technically more grey but THE BLUE IS REALLY PRETTY. And for the most part it does photograph more black than blue without looking as harsh as a straight black would.
Add a Comment


-
 296304 Visitors
 -
- Cosplayer Info
- Costumes Worn
- Costumes Made
- Props
- Wigs
- Items for Sale
- Favorites
- Convention History


Sorry, you must be a registered user of and logged in to view and add comments. Either log in or register now!