

ACParadise Network:
American Cosplay Paradise
American Cosplay Experience
American Cosplay Snapshots
Cosplayer NiGHTmaren > Costume of Leila (Vampire Hunter D: Bloodlust)
- Most Recent Photo
- 02-03-2019
- Series
- Vampire Hunter D: Bloodlust
- Character
- Leila
- Year Completed:
- 2010
- Construction Difficulty:
- Very Difficult
- Awards
- Honorable Mention Craftsmanship at OhayoCon 2010
- Costume worn at:
- Anime Weekend Atlanta 2010
- FanimeCon 2010
- OhayoCon 2010
About this Costume
- Construction Details:
-
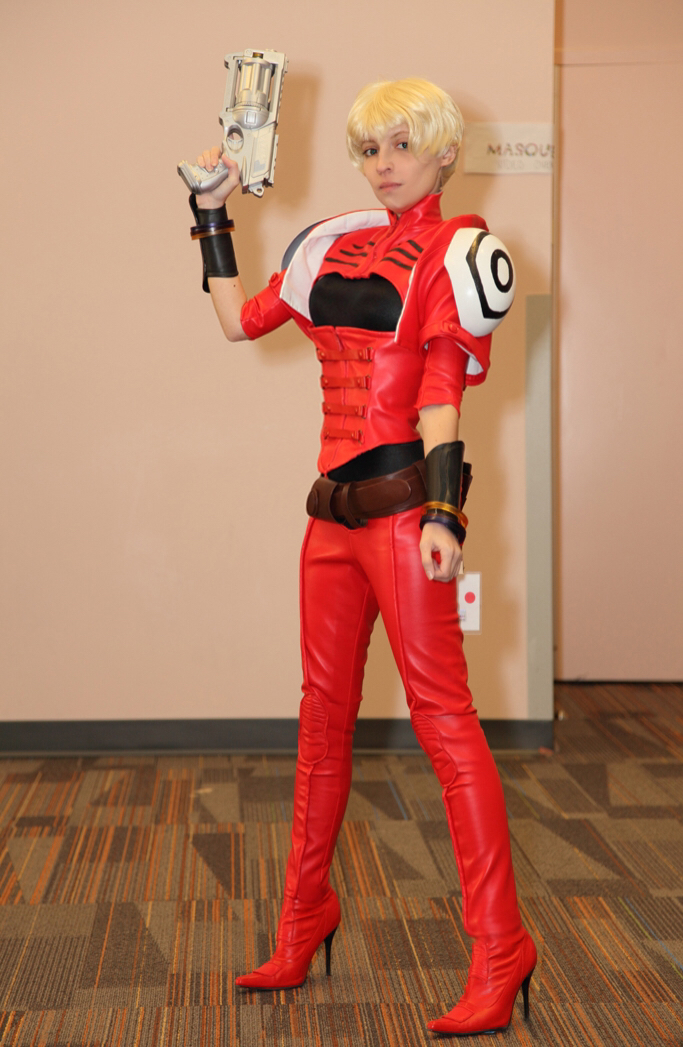
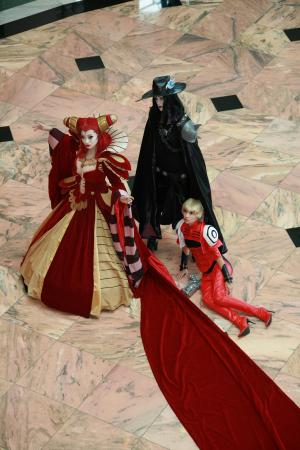
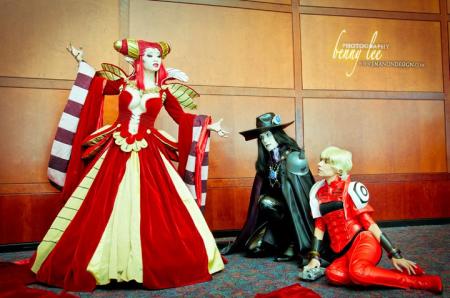
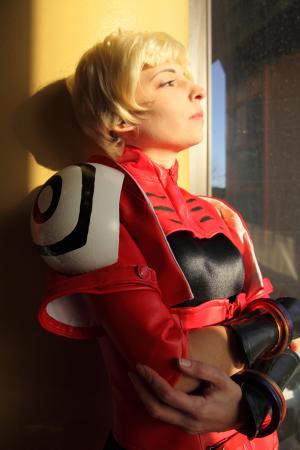
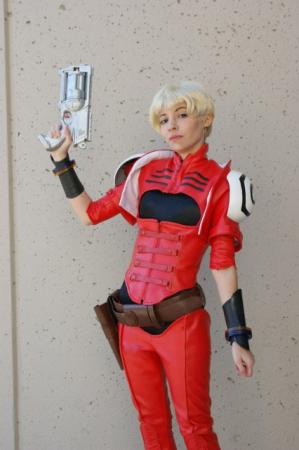
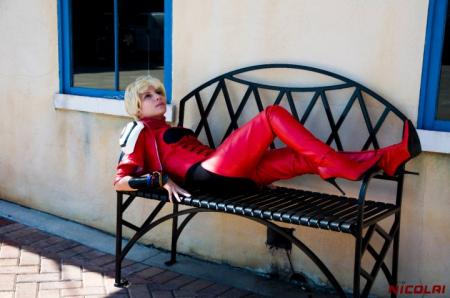
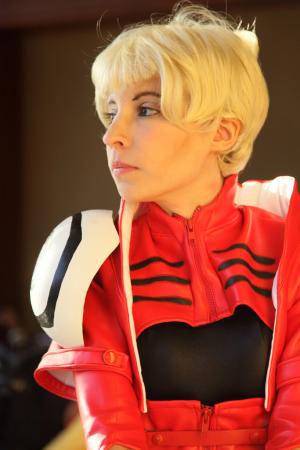
Completed January 2010 I absolutely love VHD (both movies, the novels, the manga - I love it ALL), and this costume has been on my to-do list since 2006. However, the design has intimidated me so I just held off on it, until deciding on a whim to just go for it! Leila is a very strong woman, but she has her weaknesses all the same, and I love her character. She goes through so much but somehow comes out okay in the end. I suppose I can understand her pain because making this costume was kinda the same principle ^^;.
Basically, this costume is the ultimate pleather nightmare from the lowest level of Hades. In other words, beyond nightmare mode for me to make. My machine was having some extreme DO NOT WANT moments at times when I had to feed thick layers of the stuff through it. Fashion pleather is also very prone to tearing and nicking, so you have to handle the it gently. If you take a piece and tear at it, without much effort, it will literally rip apart from itself. But I figure it's pretty suitable for the character, who is a biker and a tomboy, so leather and pleather ahoy. Honestly, I am not sure why it didn't click "Hey, do you see many people making tight, conforming costumes out of PLEATHER?!" - I just had to use the material because in my mind, it was what I thought would look best. Little did I know the situation I was putting myself in, and all the extra work it would take to make it look good! Construction-wise, this was my most difficult costume by far. It was especially challenging for me because I am not used to working with the fabrics used in the costume, or making garments that are tight and conforming, so it was a quite the learning experience.
Thankfully, I found the official, out of print artbook for the movie which has all the character sheets and whatnot in it, so I had extremely good references so I could make sure to get seam accuracy and such. I had to draft my own custom patterns and make mockups for all the pieces, and since the garments are so particular and conforming, it was quite the pain in the butt. Not to mention I had to make my own piping and do a lot of top-stitching on the pleather, both which require a lot of precision and end in many curse words at the machine.
Anyhoo, here's the lowdown on the costume.
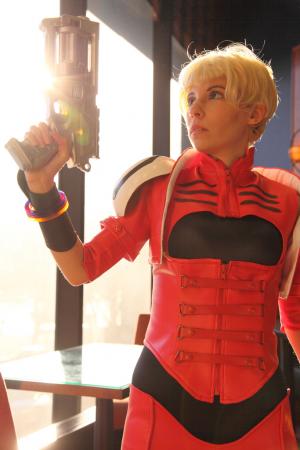
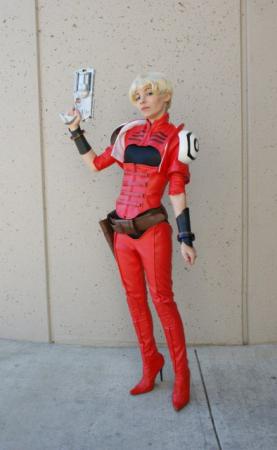
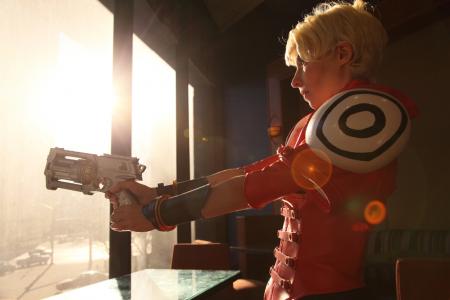
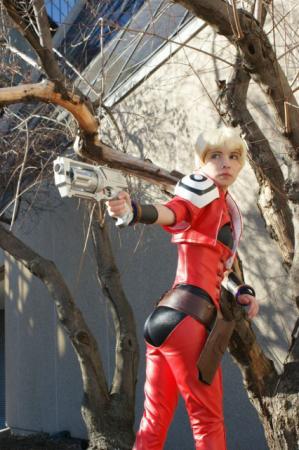
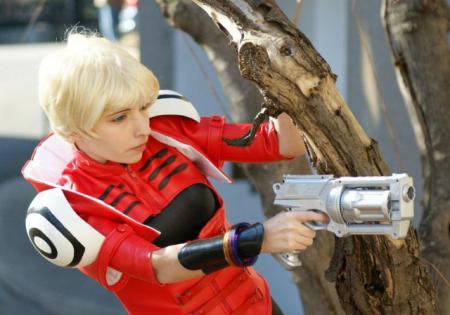
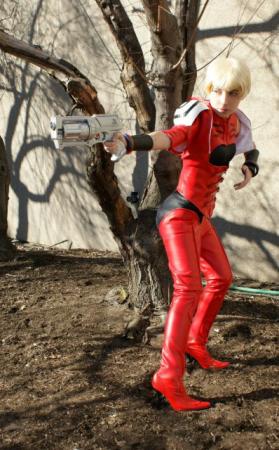
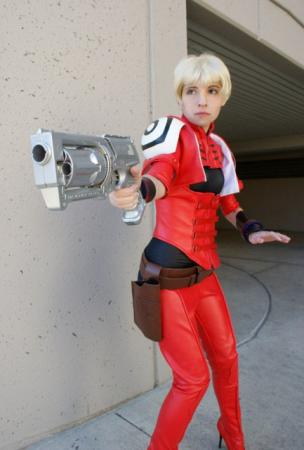
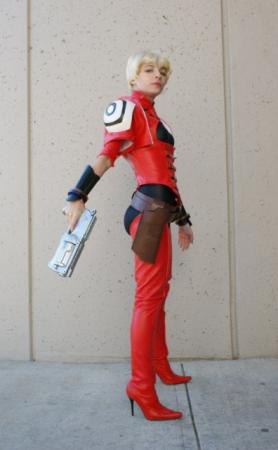
The six colored bracelets are cast out of Castin' Clear acrylic resin and were the easiest part of the costume. Belt, holster for the gun, and the top portion of the wristgaurds were made out of real leather hide. The red jacket, leggings, and vest/corset were all made using 2-way red stretch pleather. I use the word 'stretch' loosely, though really the only piece that needs to stretch a lot are the leggings.
The black bodysuit was made out of 2-way stretch wet-look spandex and was constructed to be as seamless as I could manage to make it, being a novice to working with bodysuits. The material was very slippery to work with, so it was a challenge just to pin it.
The leggings have piping inserted into the center front seam, which I made myself, and the knee pads were hand made and hand quilted to exactly match the reference, seam for seam, then sewn onto the legging by machine. It was a small challenge to make both pads exactly the same because of how odd those pieces are. I had to pretty much size the leggings exactly to my proportions - too tight and they wouldn't go on/come off, too loose and they'll just look stupid. I actually had the pants ready to be sewn up for about a month, but was so afraid of not being able to fit into them that it wasn't til close to the con that I worked up the courage and got it over with, and lucky me, they fit just fine.
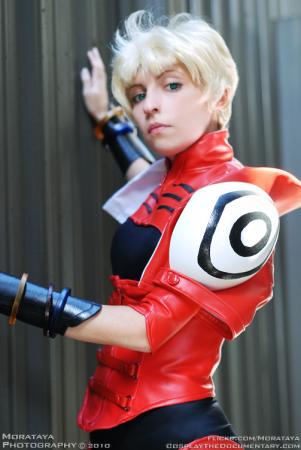
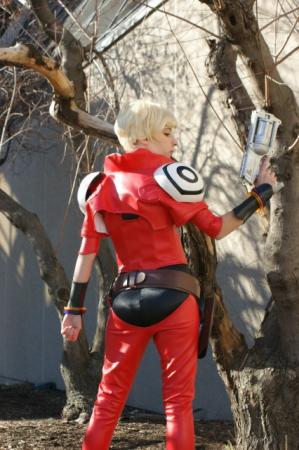
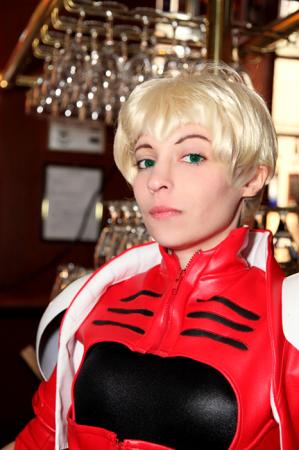
The jacket is fully lined in soft white twill and I quilted the lining for the collar portion to mimic the style of her jacket. I used gray thread for it so the seams would show and my effort would not be in vain. The collar also pops up appropriately, I thought it would be tricky to figure it out but I was able to literally stumble into the solution with no problem. There is alot of top-stitching and neat detail on this piece, and it is patterned to even include the semi-cutout on the back, as well as the 'raised' shoulder blade pieces, which were kind of frustrating to implement. The longer set of sleeves are separate, and were pattern drafted, top stitched for detail, and serged together.
The vest/corset portion has two separating zippers (for the top and the bottom) so it can function just as it does in the anime. The corset portion has steel boning inserted into channels I made in the lining in order to maintain structure. The back of this garment features a cut-out which had to be carefully patterned so the two garments lined up correctly. I sewed in D rings (4 to each side) on the center front panel and used those to attach the leather straps which I handmade myself, which snap onto the cooresponding D ring on the other side, over the zipped front.
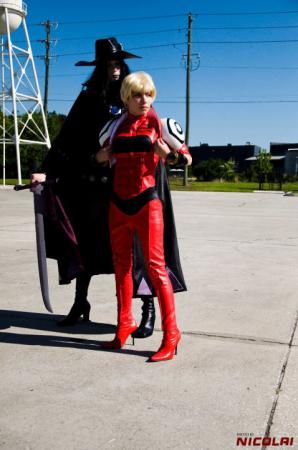
The boots were butchered from what they were into what they are now - they started as white stretch (zipperless) thigh highs that I had lying around for a costume I don't intend on making anytime soon, and were completely changed to become the base boots. The detail on the boots was made out of pleather, which was embroidered around the edges and in the case of the larger pieces, top stitched to match the effect. Sadly, these barely show in photos, I might eventually want to take a pic of the boots themselves to show the detail.
As always, I used Angelus leather paints and finisher for the belt, holster, and wrist guards - the leather is also slicked along the edges and edgecoated in the back so the work is finished. This is extremely important as the leather would be pushing up against the pleather, and pleather is extremely easy to tear and strain. The wrist guard pieces (top) were wetformed into shape so they weren't stressed out too much - since they are in a stress zone, and I didn't want them to be coming off/apart. The bottom half of these pieces are pleather - for comfort on my forearm - and are topstitched.
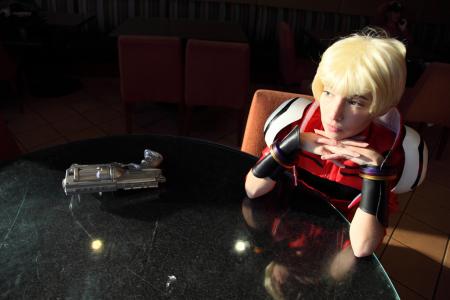
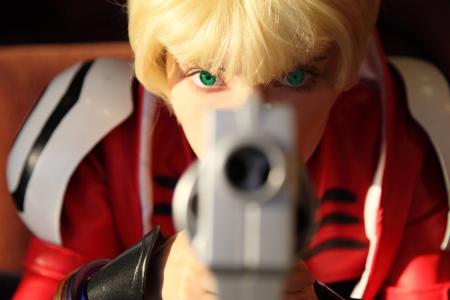
Wig was a pretty simple styling job - just had to style in the bangs appropriately, and brush the rest of the wig into the style.
Last but not least, the shoulder pauldrons are modified roleplay army helmets that are supported by foam so they appear to be floating - you don't see the foam underneath either so it is a pretty neat effect!
The gun is of course a stand-in for now, I want to eventually make her actual gun, but that will require time and money I did not have at the time. I don't believe in rush jobs, so I would much rather have a faux Nerf gun than a shoddily made replica of Leila's gun. - Personal Thoughts:
- This costume was a lesson in pattern drafting and fit. A HUGE butt-kicking lesson. I do alot of crossplay and looser fitting costumes in general, so the construction techniques were so different than what I am used to - I was certainly out of my own comfort zone with this costume. I pretty much made a mock-up of everything before using the actual fabric to make the garment, so it would fit properly and match Leila's seam placement/top-stitching in the art. Also, artwork inconsistencies make me angry - there are a lot of them with Leila, apparently, as I found out comparing screencaps and official art. Also, note to self, need to stuff a bit more in the chest area for next time, since I'm a Flatty McFlatchest. XD It throws things off a bit.
This costume was shown in Cosmode Vol 39.
Add a Comment
Photos
-
Photo 1
 0
0  691
691 -
Photo 2
 1 1450
 -
Photo 3
 1 708
1 708 -
Photo 4
 0 652
0 652 -
Photo 5
 0 632
0 632 -
Photo 6
 0 764
0 764 -
Photo 7
 0 635
0 635 -
Photo 8
 0 633
0 633 -
Photo 9
 0 665
0 665 -
Photo 10
 1 1062
 -
Photo 11
 0 632
0 632 -
Photo 12
 0 577
0 577 -
Photo 13
 0 574
0 574 -
Photo 14
 0 531
0 531 -
Photo 15
 0 751
0 751 -
Photo 16
 1 608
1 608 -
Photo 17
 0 1010
 -
Photo 18
 0 637
0 637 -
Photo 19
 0 681
0 681 -
Photo 20
 0 520
0 520 -
Photo 21
 0 593
0 593 -
Photo 22
 0 567
0 567 -
Photo 23
 0 643
0 643 -
Photo 24
 0 505
0 505 -
Photo 25
 0 523
0 523
-
 1630050 VisitorsAcy's Pick: 08/2014
 -
- Cosplayer Info
- Costumes Worn
- Costumes Made
- Props
- Wigs
- Favorites
- Videos
- Convention History


Sorry, you must be a registered user of and logged in to view and add comments. Either log in or register now!