Im Alice from cosplayweapon, today, i decide to post my Elmina Rhoderia's wand tutorial ,this tutorial will provide all the making process details of this wand, which can inspire you some ideas to make your own cosplay props or other accessories.Sorry about my poor english, ask your questions here, i will try my best to reply you.
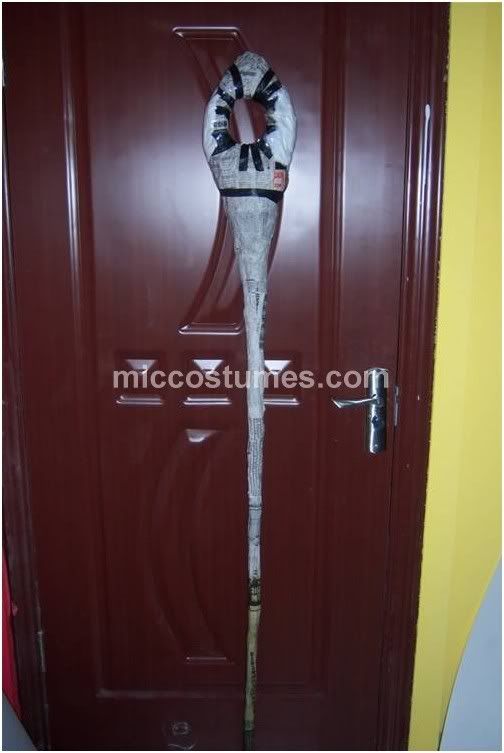
he wand is featured with irregular shape but there is no need to follow the original grain of the wand in the game , just look alike will be ok.
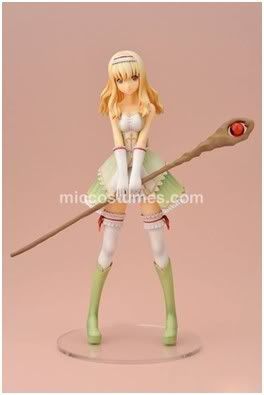
The original picture of the wand is below:
Material: PVC water pipe, iron wire,paper,transparent adhesive tape,epoxy resins,putty.
Do the following steps:
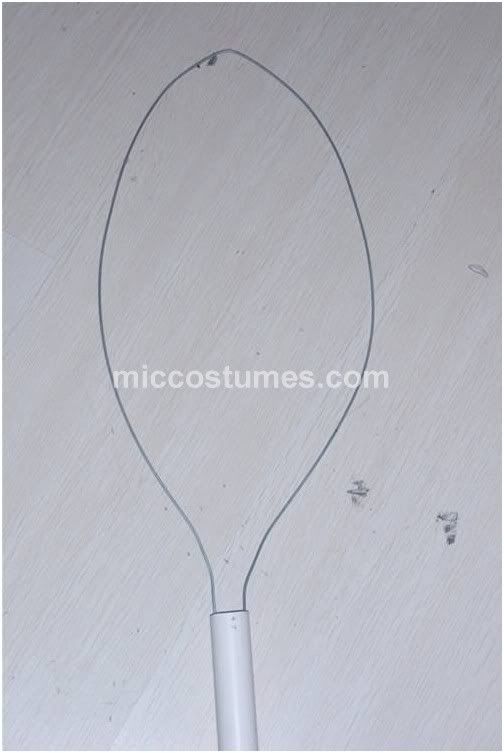
1. Bend the iron wire as a circle and insert the circle in the PVC water pipe.
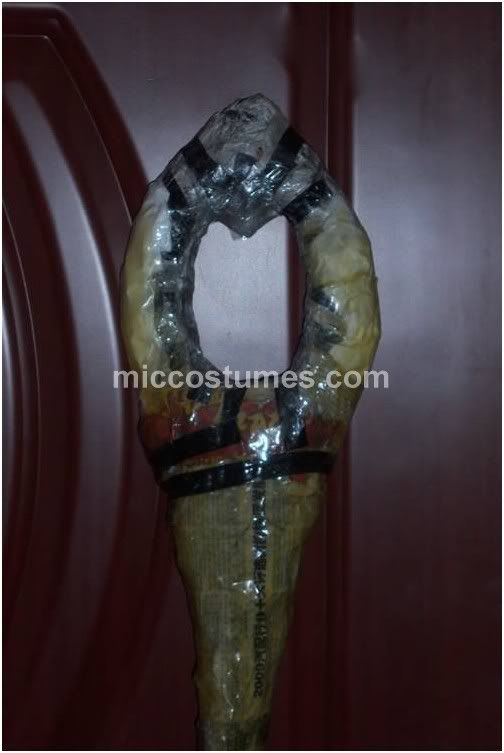
2. Wrap the above with paper and transparent adhesive tape in layers until the wand head appears.The handle just touches concavo-convex, without special requirements.
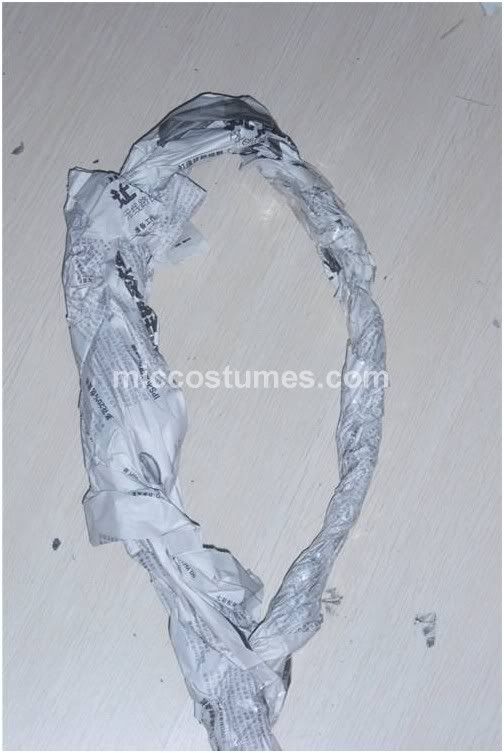
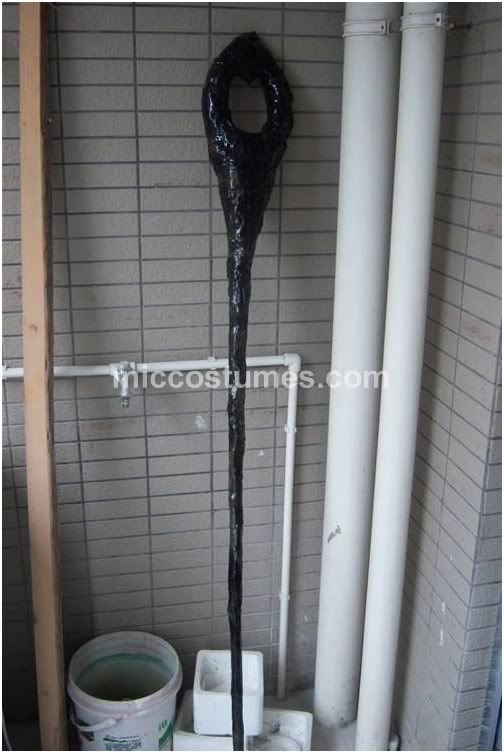
3. The shape of the wand appears. Some alterations are still needed.I am anxious to finish the wand. Thus I plan to fix the handle in order that the finished part keeps in shape.
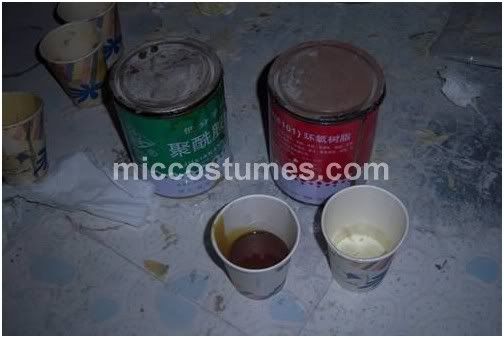
4. Mix up the epoxy resins in proper proportion.
5. Spray epoxy resins on the whole handle, ensuring the whole handle is sprayed with epoxy resins.The handle become firm after solidified by the epoxy resins.The epoxy resins passivate the handle and make the handle tender
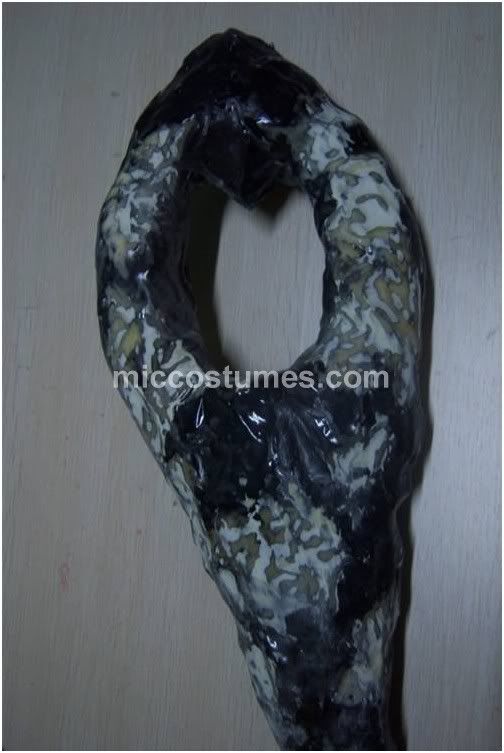
6. I continue to reshape the wand head. The diameter of the wand head is smaller than the original. Then I enlarge it by using knife and wrap the inside of the head with transparent adhesive tape again, making it look bulged
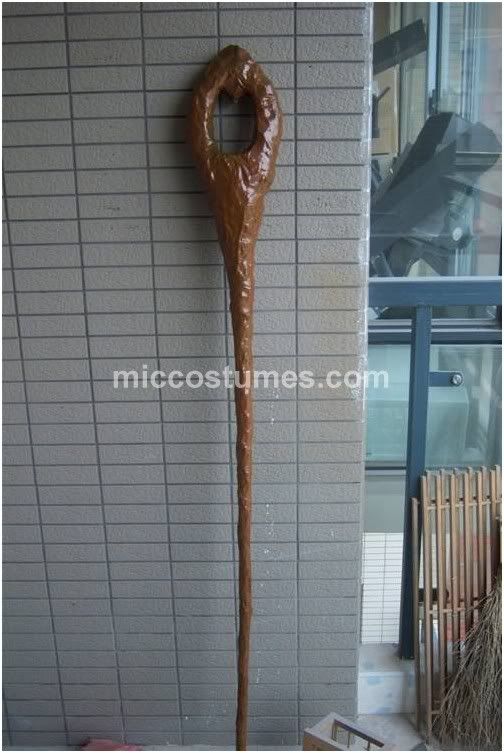
7. Brush the resins and then spray the primer on the wand in order to see the wand in details. (I prefer the black.)
8.Putty the hollow. (Fill the hollow with putty.)Although the resin passivates the paper,the wand is not stiff enough. Thus I do more to make it become better.

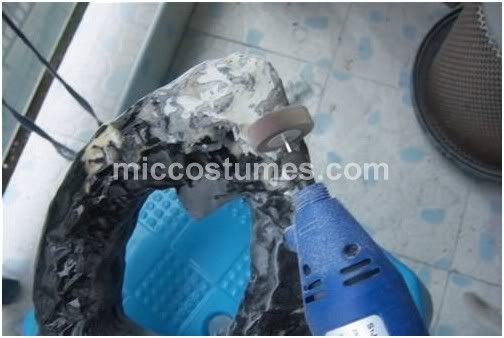
9. Rub down the wand and grind the tuber.
10. Then the wand touches slippery after the above procedures.
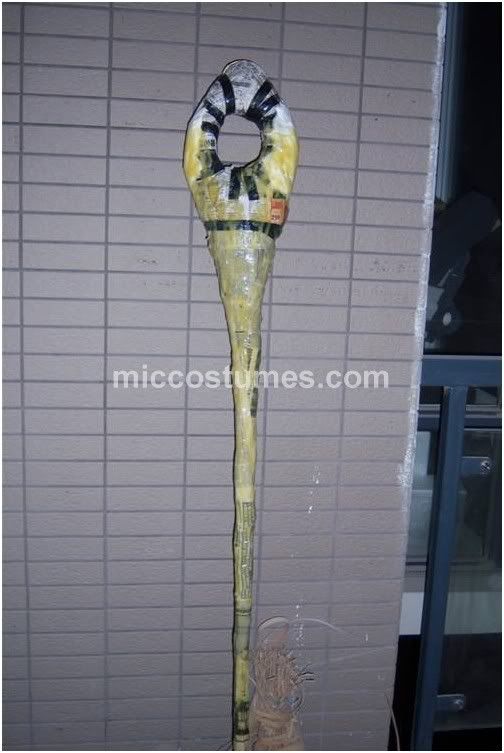
11. Spray the mixed paint on the wand.Just color the wand as you like.It does not matter whether the wand is colored like the original or not.I choose the bright color personallly.The bright color makes the wand seem to be plump. The wand touches more bulged than the model.
12. Put the colored wand in a dry place.
13. Find a plastic ball used for Christmas and perforate the two sides of the ball.
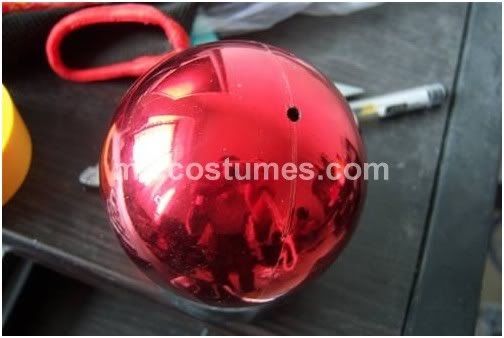
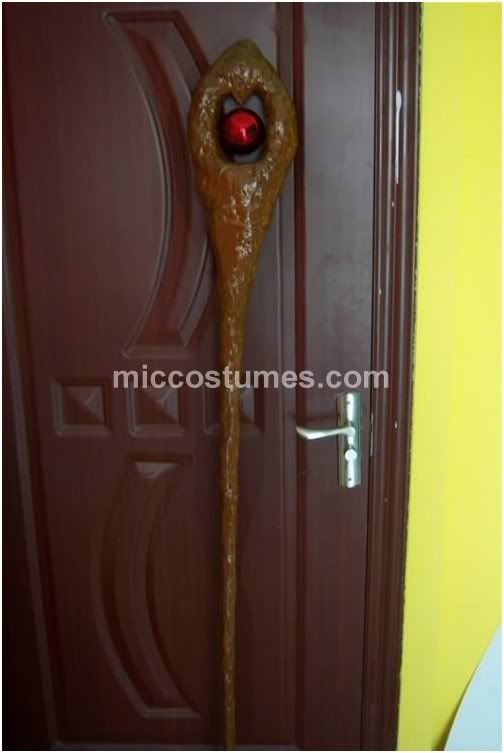
14. Perforate the two sides of the wand head too. Insert an iron wire between the two holes of the wand head to fasten the plastic ball.Right now the Elmina's wand in Shining Wind Cross is finished.