

ACParadise Network:
American Cosplay Paradise
American Cosplay Experience
American Cosplay Snapshots
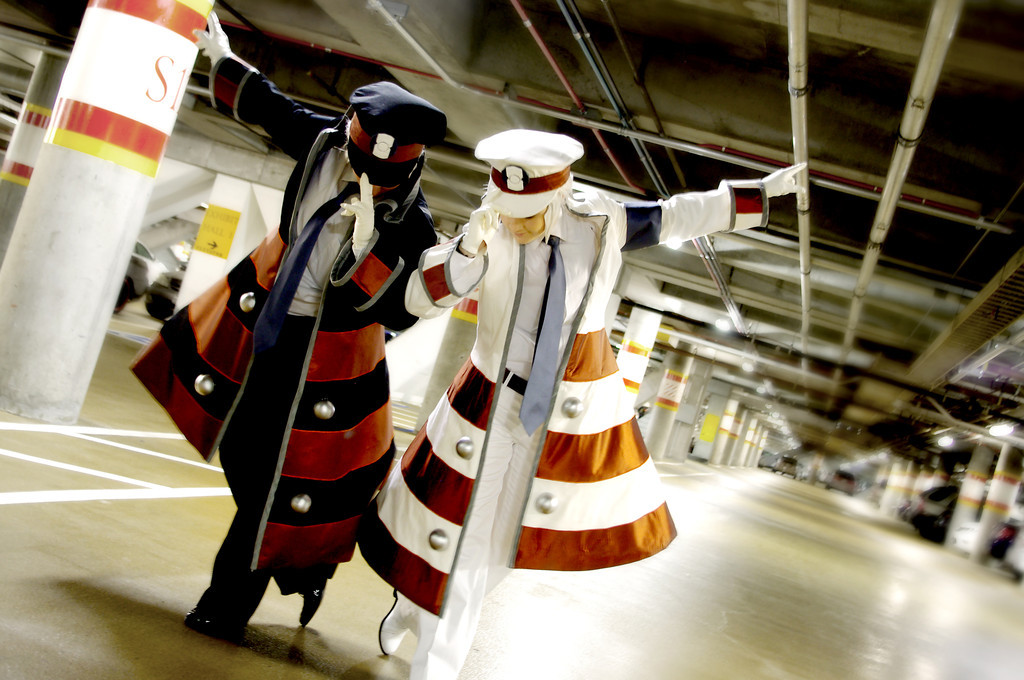
Cosplayer Yukari Kaiba > Costume of Subway Boss Ingo (Pokemon)
- Most Recent Photo
- 06-10-2013
- Series
- Pokemon
- Character
- Subway Boss Ingo
- Year Completed:
- 2013
- Construction Difficulty:
- Very Difficult
- Costume worn at:
- FanimeCon 2013
- Japan Expo USA 2013
About this Costume
- Construction Details:
-
WHERE DO I EVEN START:
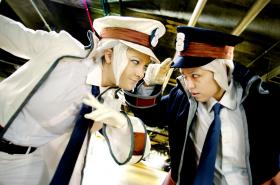
Hat - made from scratch with a pattern Bekalou drafted. Twill/interfacing, and 2-toned copper taffeta. Emblems are super sculpty made by Bekalou
Tie & armband - also made from scratch with matching fabric (don't remember exactly what it is though, some kind of upholstery)
Coat - Fabrics used were twill for the outside, cotton for the inside. Bekalou and I have the same 2-toned copper taffeta (which we chose since it had a similar look to reflective tape found on traffic cones) for the stripes. Made our own bias tape out of a gray pinstripe suiting that had copper in it to match the stripes.
We were really adamant about recreating the cone shape of the coats, so we brainstormed a lot and Bekalou was able to come up with the infrastructure, which was essentially a third "coat" made of buckram with 3 sections of boning going up the flair (which was sandwiched between the coat itself and the lining), and then we sewed pockets for aluminum rods to slide into right inside the coat openings which would help keep the shape when we wore them. And it totally worked! We were really pleased with the turnout
Shoes/pants/shirt/gloves - purchased (gloves I borrowed from Bekalou)
Though technically they don't have props, Bekalou and I decided to go off a fanart and get props that would be something that the Subway Bosses would actually carry around - she bought a railroad lantern, and I got a mantle clock that looked liked an oversized pocketwatch, took it off its stand, and attached a chain. Both are vintage items circa 1945
- Personal Thoughts:
- This was A LOT of work x__x but I am immensely proud of it, and I had so much fun wearing it with Bekalou after a year of talking and planning for the costumes. I learned a lot of new techniques making this coat, and I really have to thank Bekalou for assisting me when I had issues. Now I have to figure out how I'm gonna store this darn coat! haha
Wig Details
- Styling Notes
- Made the sideburns out of interfacing and glued on wefts in a couple of layers. Attached them to the wig with hot glue and styled the sideburn first, then blended it in with fibers from the actual wig
Add a Comment


 Upgrade Cosplayer
Sorry, you must be a registered user of and logged in to view and add comments. Either log in or register now!