

ACParadise Network:
American Cosplay Paradise
American Cosplay Experience
American Cosplay Snapshots
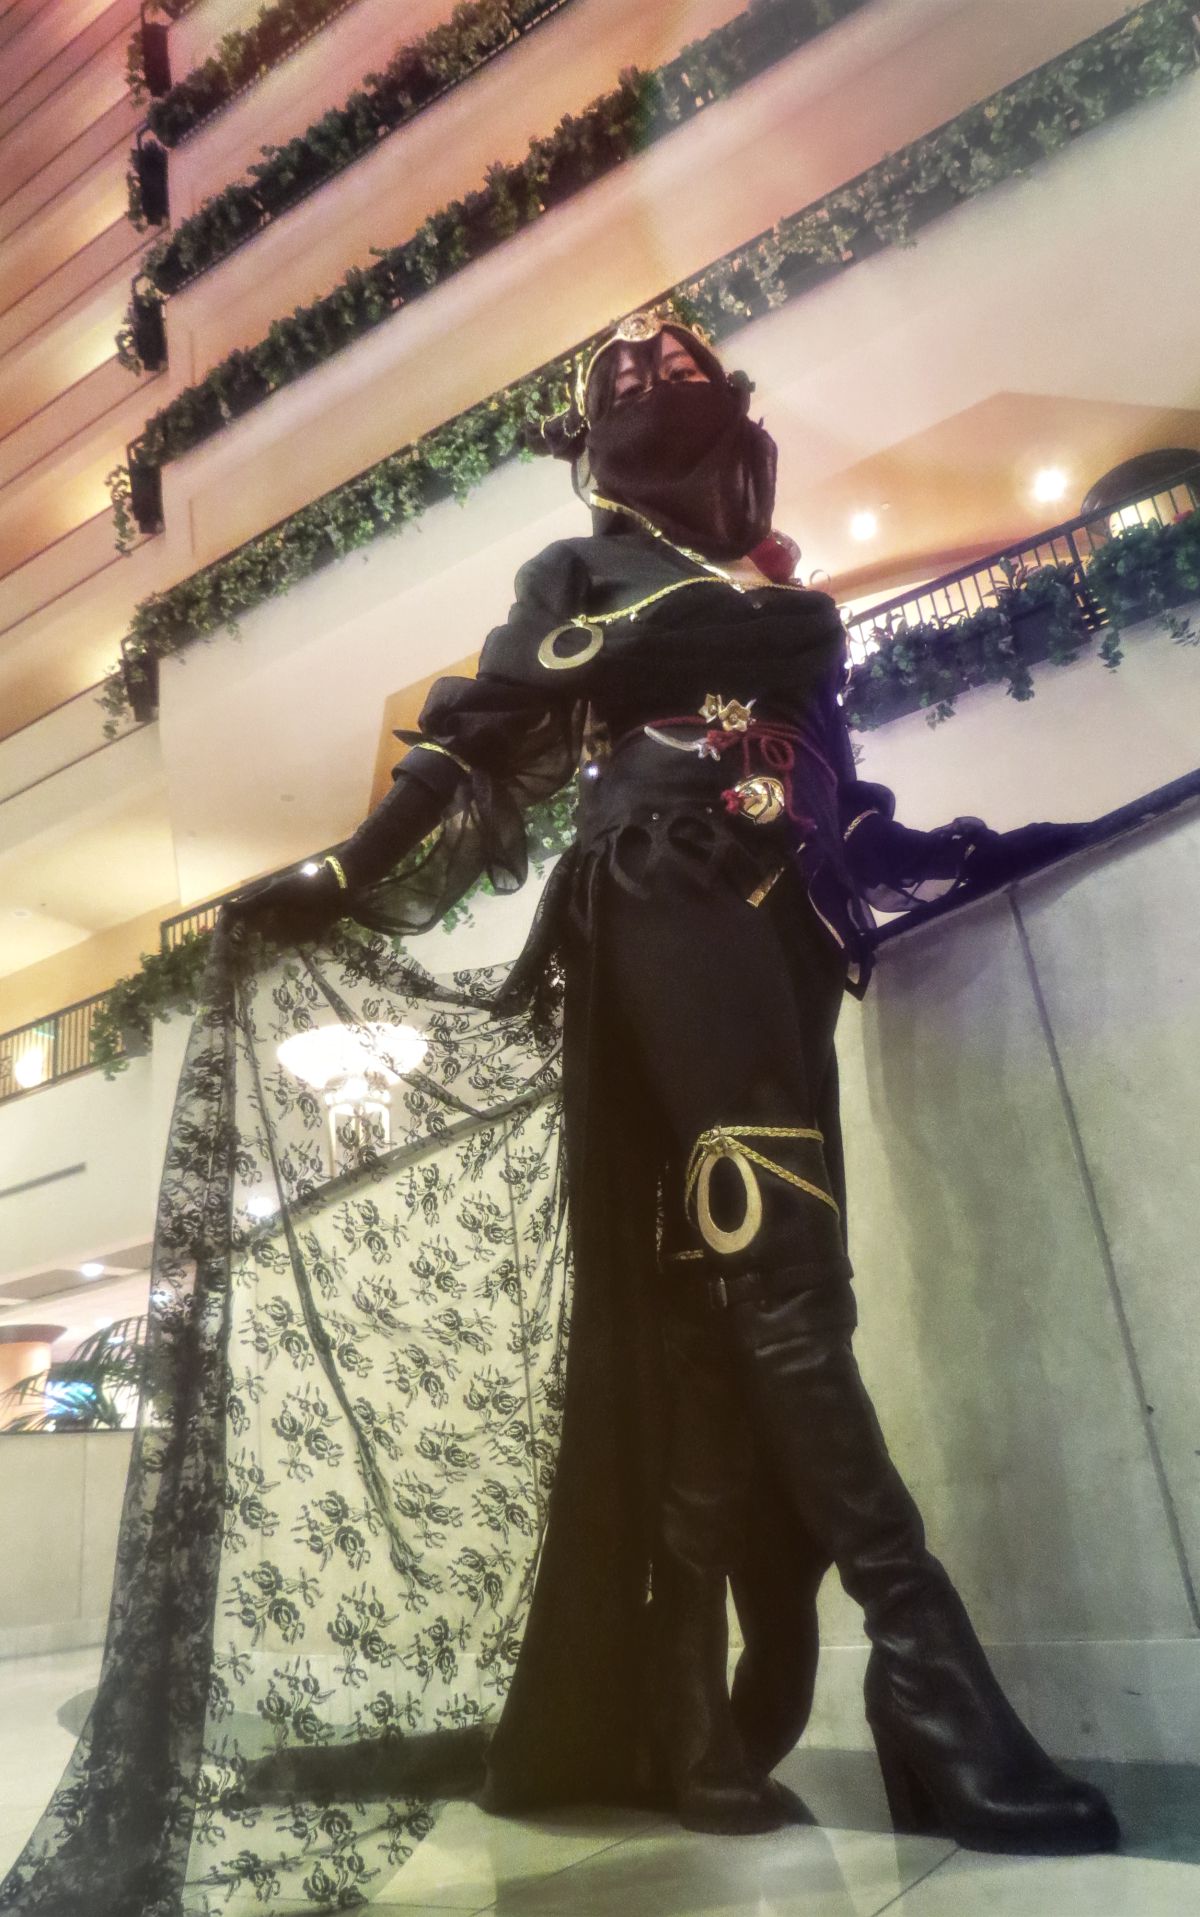
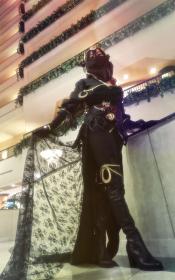
Cosplayer JieKi > Costume of Umbreon (Pokemon)
- Most Recent Photo
- 11-02-2015
- Series
- Pokemon
- Character
- Umbreon
- Special Variation:
- cowslip
- Year Completed:
- 2015
- Construction Difficulty:
- Difficult
About this Costume
- Construction Details:
-
Umbreon Cosplay Write Up:
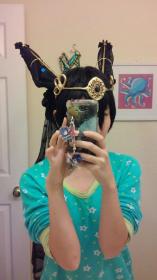
(1) Headpiece -
a. Headband, model magic, skewers, wire, metal broach, acrylic gems, gold beads, black beads, sequined mesh, black chiffon, gold earrings, gold wire cord, bells
b. I created a base using a headband on a Styrofoam head with wire and two skewers. Once I got a generic shape, I covered everything with model magic and let that dry. The metal broach was weaved into the wire as well, so keep it stable. After it dried, I added two extra pieces with more wire and model magic + acrylic gems. I coated everything with mod podge to seal it and then spray painted the whole thing gold. I sharpie-d the gem on the broach back to black. After that part was completed, I wrapped the sequined mesh fabric around the headband and sewed that in. I created a gradient effect on the mesh by sewing in some gold beads to the bottom section of sequins. I poked two holes into the top ear pieces and put in hoop earrings. The ears and back piece are one pieces looped through the headband and positioned in a way so that it gathered properly like Umbreon's ears. I tied the chiffon to the ends of the skewers with gold wire and attached a bell at the bottom for the jingles. I made three gold bead strands and sewed those into the sides of the headband. For the veil, I took a trapezoid shape, ruffled the edges, and sewed the tops to the bottom of the headband piece.
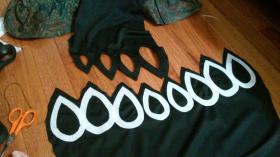
(2) Top -
a. Black Satin (used reverse side), black chiffon, red fabric, black knit, gold bias tape, gold trim cord, bangles, interfacing, craft foam, gold ribbon, bells
b. I patterned everything out with bedsheets before I started. Since the pattern was a strange faux kimono, it was an interesting experience. I hand sewed in interfacing for the collar and the gold bias tape before running it all through the machine. I put in a zipper for the front. The sleeves are double layered with a black knit and chiffon. The knit was a typical sleeve pattern, while the black chiffon was a bishop sleeve. I sewed the two pieces together before sewing them into the main piece of the top. I made sleeve caps with interfacing and hand sewed those into the edge of the sleeve. I glued gold trim onto bangles and sewed in black chiffon squares to another piece of gold trim. I took the gold trim and tucked that outside the sleeve cap and sewed that in place. There is a back hook piece for the sash that goes with the top. The sash is a trapezoid shape sewn full circle with a snap sewn onto the front piece. Cord was also sewn in, along with some craft foam circles + gold ribbon + bells.
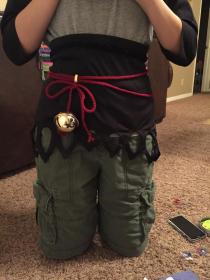
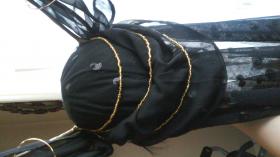
(3) Belt/Obi -
a. Black knit, interfacing, flower trim, red yarn, bells, model magic, wire, gold ribbon
b. Patterned everything again first, then cut the pieces out of the knit. I cut tear dropped shapes for the holes and glued those to the underside. I carefully sewed in another piece of fabric, cut the center of the tear drop out, and folded it over and around the edge to create a clean "hole" in the fabric. I did this to every shape in the bottom of the obi. I sewed in a long piece of interfacing at the top to keep it from rolling down, and added a zipper in the back. I sewed in the flower trim near the top and braided red yarn in order to turn it into a thick cord. I created "belt loops" out of gold ribbon for the yarn to sit through. One yarn ties in the back along with the mesh flower train (see 5), while the other is just sewn into the belt. I sewed a red ribbon cord under a belt loop with a giant bell pulled through. I sewed the bell onto the obi as well to keep it from flying everywhere while I walk around. I made the strange silver reed piece with wire and model magic, and that is sewn in directly above the ribbon, along with more bells and two flower/bells I made with more model magic.
(4) Boots -
a. Marine vinyl, black bias tape, gold trim cord, model magic, bells, craft foam
b. In order to maintain my sanity, I just made two boot "covers" for an existing pair of thigh highs. I sewed black bias tape around the edge, then looped gold cord around the boot and sewed it straight into the top outside area. I put in the craft foam circles then two tiny flower/bells made from model magic, then another bell on top for the jingle.
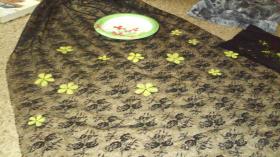
(5) Ribbon Train -
a. Yellow fabric paint, lace mesh fabric
b. I cut the fabric edge to match the lace to make it look fancier. I then cut them into three sections- one for the ribbon and two for the longer train. After sewing everything together, I painted flowers onto the mesh with fabric paint. The cord from the obi loops around in the loop of the ribbon, so that's how it stays on.
(6) Train 2 -
a. Jacquard denim fabric, elastic
b. Simple rectangles sewn on an angle to elastic. I wear this underneath every other piece - Personal Thoughts:
- JUST YES.
I HAD A BEAUTIFUL ESPEON AS WELL.
Add a Comment
-
 367327 VisitorsAcy's Pick: 05/2018
 -
- Cosplayer Info
- Costumes Worn
- Costumes Made
- Props
- Wigs
- Favorites
- Convention History


Sorry, you must be a registered user of and logged in to view and add comments. Either log in or register now!