

ACParadise Network:
American Cosplay Paradise
American Cosplay Experience
American Cosplay Snapshots
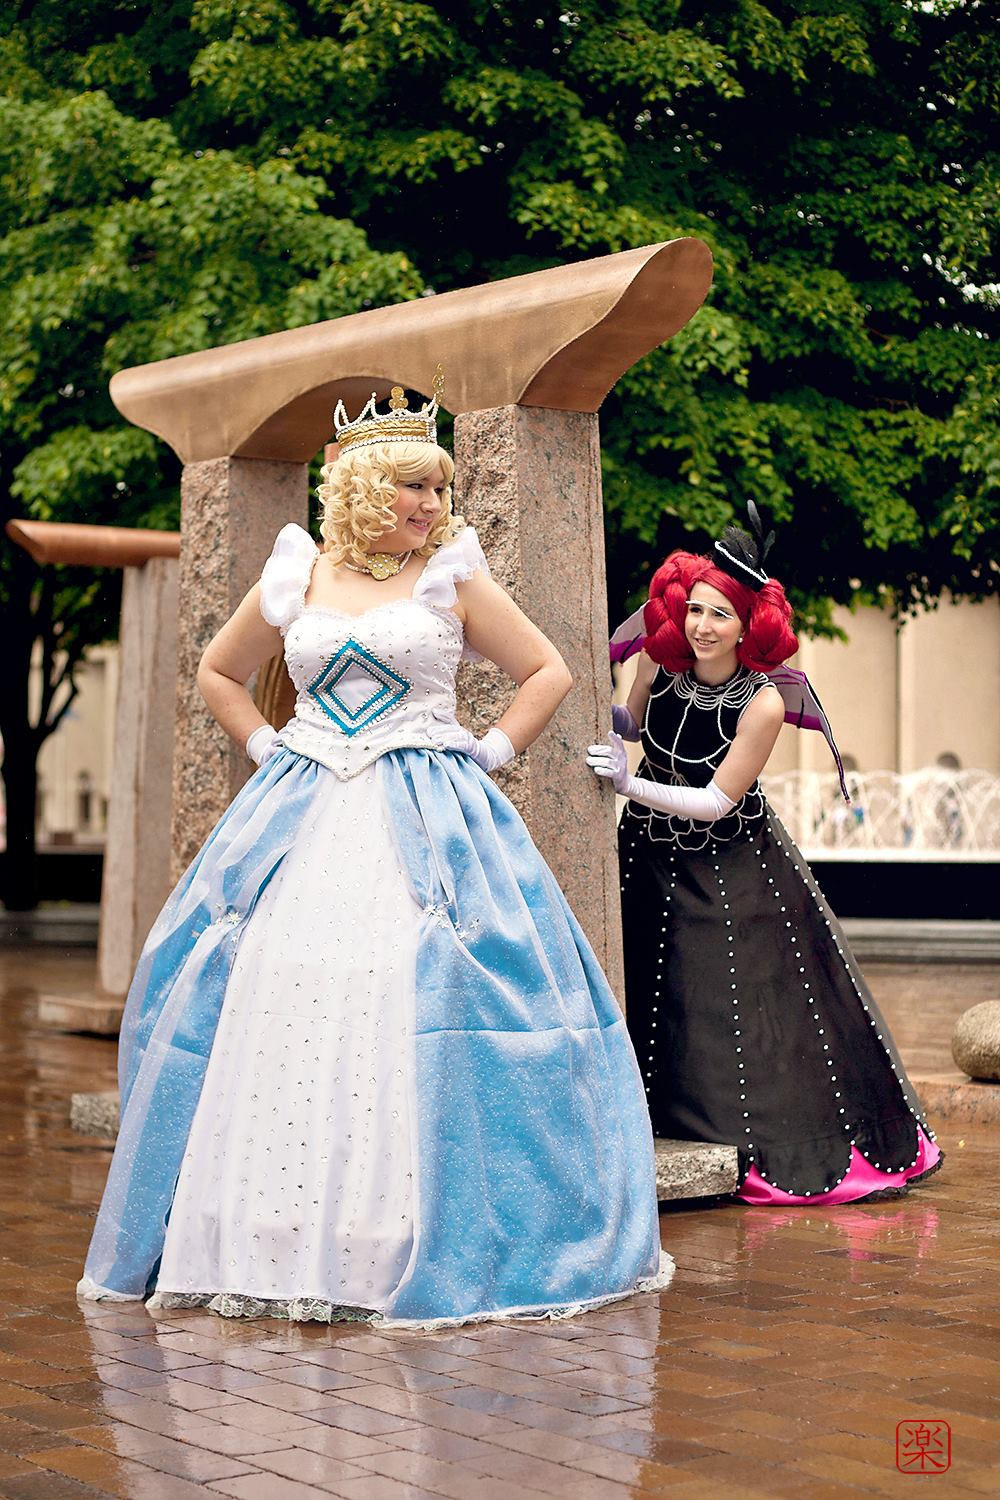
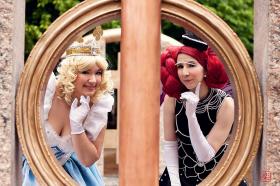
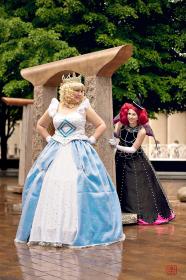
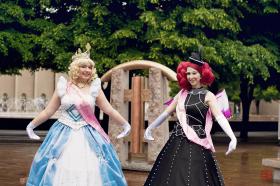
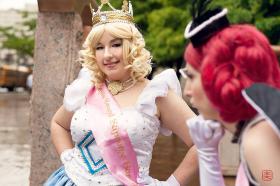
Cosplayer HSC-Abby > Costume of Chocola Meilleure / Kato Chocola (Sugar Sugar Rune)
- Most Recent Photo
- 06-25-2013
- Series
- Sugar Sugar Rune
- Character
- Chocola Meilleure / Kato Chocola
- Special Variation:
- Beaded Gown
- Year Completed:
- 2013
- Construction Difficulty:
- Difficult
- Awards
- Judges Choice Award ~ Performance - Anime Boston '13; 1st Place Master Craftsmanship - Anime Boston 2013
- Costume worn at:
- Anime Boston 2013
- Videos
- Featured in 1 Videos
About this Costume
- Construction Details:
-
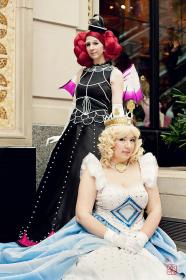
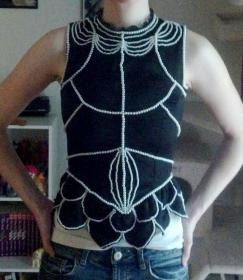
I decided to make the dress in two parts, a bodice and a skirt. The bodice was made using an altered pilgrim dress pattern with added darts to help with the fit. It’s made from black Casa satin and lined with black cotton. The scallops on the bottom of the bodice are satin stitched, rather than faced, to help them keep a crisper shape. All of the pearls on the bodice are 6mm or 4mm plastic pearls. All of the pearls were hand strung and then sewn onto the bodice. The lace at the neck of the bodice was colored with Color Tool spray paint since I couldn’t find any scalloped black lace that I liked.
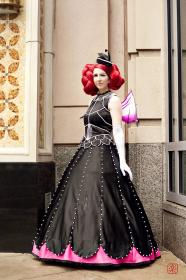
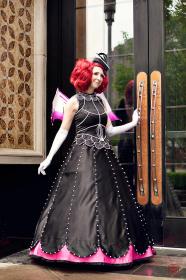
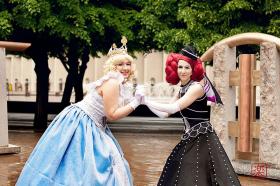
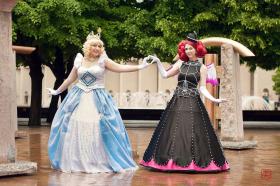
The skirt is supported by a steel boned hoop skirt, which was made using the simplicity hoop skirt pattern. There’s a double layered petticoat on top of the hoop made from cotton and bridal crinoline. The skirt is made out of black and hot pink Casa satin was drafted by hand. There are 12 scallops along the hem and they are all are faced with more black Casa satin. The lace on the bottom of the skirt was colored using Color Tool spray paint, just like the lace on the bodice. All of the plastic pearls are 8mm and were individually sewn by hand to the skirt.
The wings are made out of craft foam and 12 gauge wire covered in satin spandex. The wire allowed the wings to be bent and reshaped when needed. The gradient on the wings was done with Color Tool spray paint. The gems on the wings were originally white rhinestones that were painted with black nail polish before being glued down. The wings attached to the bodice using 4 large snaps.
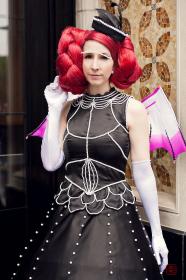
My gloves were made out of white satin spandex and I used an altered vogue pattern for them. The hat is made out of craft foam and wonderflex covered in black satin spandex. The feathers were all trimmed and shaped by hand. The 8mm pearls around the brim were strung by hand and then glued down and the 4mm pearls on the veil were glued directly to the netting. The veil is made from black nylon netting. The hat has a hair comb glued to the bottom of it, which is what secures the hat to the wig. - Personal Thoughts:
- I've been wanting to make another beaded costume since I made my Medusa costume in 2009. I made that costume in such a short time that I ended up having to glue down all of the pearls; so I really wanted to put the time into another beaded costume and actually sew on all of the pearls. It took A LOT longer than I expected, but I'm so happy with the final product that I'm serious contemplating doing another heavily beaded costume in the near future.
Wig Details
- Styling Notes
- This is my first large and complicated updo wig. The base of the wig is a short Lulu from Arda Wigs and the updo portions are 2 clip in long curly pigtails that were straightened. I made several tubes of batting covered in red felt, which were then covered with extra wig fiber and sewn into the clip on pigtails. The larger portion of the updo has 3 tubes of batting/felt in it and was braided and then pinned and sewn into place. The smaller portion of the updo has 1 large tube of batting/felt and the extra pigtail fiber was braided around it before it was pinned and sewn into place.
- Wig Review
- I learned a lot from this wig and there are definitely some things that I would do differently if I were to style it again. But I’m fairly proud of the results since I haven’t had a lot of experience with styling complicated wigs. The wig itself is a gorgeous color of red and the fiber was easy to work with.
Add a Comment
-
 348576 Visitors
 -
- Cosplayer Info
- Costumes Worn
- Costumes Made
- Props
- Wigs
- Favorites
- Videos
- Convention History


Sorry, you must be a registered user of and logged in to view and add comments. Either log in or register now!