

ACParadise Network:
American Cosplay Paradise
American Cosplay Experience
American Cosplay Snapshots
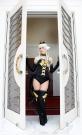
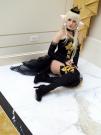
Cosplayer Dessi_desu > Costume of Freya (Chobits)
- Most Recent Photo
- 05-07-2012
- Series
- Chobits
- Character
- Freya
- Special Variation:
- Artbook
- Year Completed:
- 2012
- Construction Difficulty:
- Normal
- Costume worn at:
- Katsucon 2012
About this Costume
- Construction Details:
-
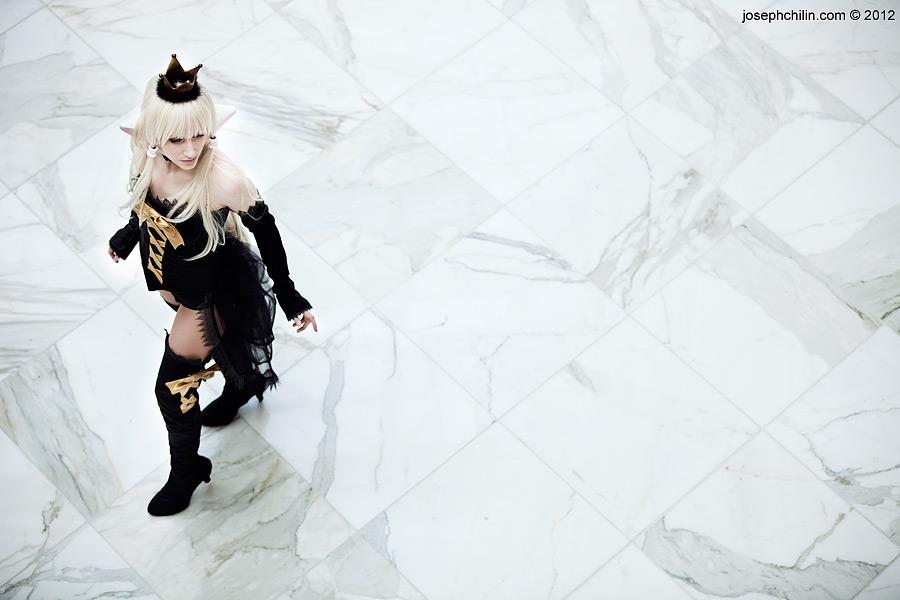
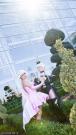
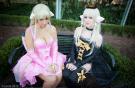
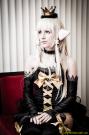
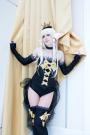
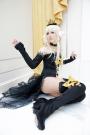
I've had my eye on this Freya costume for quite a while. Compared to other Chobits designs, it's a relatively simple costume, but I liked the elegant regal vibe and thought this costume would be lovely in the Katsucon venue space.
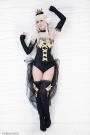
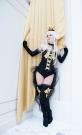
Everything, excluding the bustle, is made from casa satin. The bootslip covers were by far the most aggravating things to create for this costume. The covers were divided into several pieces. Due to the ribbon detail on the sides, I decided I did not want a seam going up the front, so I referred to a pair of boots I own in order to figure out how I wanted to create the covers. I ended up deciding to create a shoe part of the cover, including a piece to go around the heels of the shoes to be worn underneath the covers, and the pieces for the legs, which were sewn together.
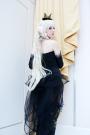
I ended up having to fabric paint all the lace for this costume. Apparently, black lace is scary because I could not find any at the fabric store I liked and because my budget was tight I had to coupon like crazy for this costume, so buying lace online was not an option for me. Coupons are your friends!
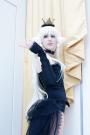
It was interesting figuring out how to translate the bustle into reality. The way CLAMP drew it in the artwork had an appearance of a flat lace panel, but I figured that would be too limp. In the end, I ended up being inspired by some tulle burlesque bustles and tried to execute mine in a similar fashion.
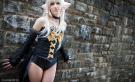
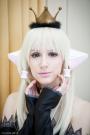
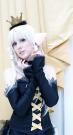
The crown is my favorite part. It was created using casting epoxy, which was poured into a mold that I had created, after sculpting a crown out of clay. Any imperfections were simply sanded off using a dremel tool and some sand paper. Afterwards, I was able to paint it gold, using acrylics. The "fur" is a black fuzzy feather trim, which was glued on. In order for the crown to stay in place, it was simply sewn to my wig. The hair beads were also created using the same casting technique.
The ears were created using a paper mache and paper clay method. They started out as corrugated cardboard with paper mache, as the base, which was built on top of with paper clay. A bit of sanding later, I was able to paint them white and pink with acrylics. For extra durability, I decided to brush some casting epoxy on the ears. They were then attached to a clear head band that I am able to wear under my wig.
Add a Comment


Sorry, you must be a registered user of and logged in to view and add comments. Either log in or register now!