

ACParadise Network:
American Cosplay Paradise
American Cosplay Experience
American Cosplay Snapshots
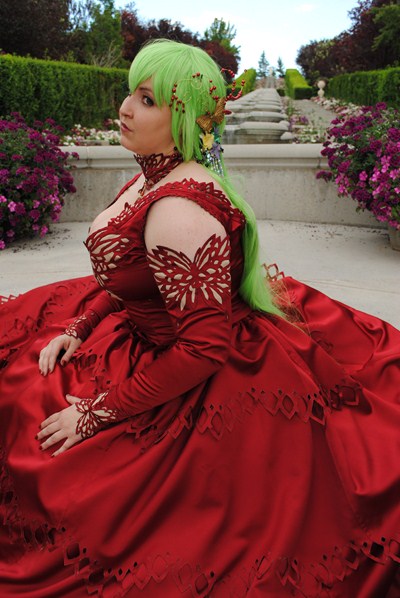
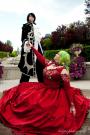
Cosplayer Garnet Runestar > Costume of C.C. (Code Geass)
- Most Recent Photo
- 02-27-2012
- Series
- Code Geass
- Character
- C.C.
- Special Variation:
- Red Butterfly
- Year Completed:
- N/A
- Construction Difficulty:
- Normal
- Awards
- Best of Show, NDK 2011
About this Costume
- Construction Details:
-
I was at first reluctant to do this dress. I knew it would be a lot of work in not much time...but my lelouch convinced me it would make a better impression then the simpler one I had planned originally.
Cutting want's the hard part. I've made enough ball gowns now that the shapes were really a no brainier. I flat-felded all the seams on the skirt to give the dress layers a one sheet of fabric feel and the then set to work.
The edges of this dress took hours bent over my fabric delicately mark cutting and finishing. I melted a hole in my carpet in the process!
I considered several different ways I could accomplish the cut outs without having unfinished edges. I first thought of lining, an idea that was quickly rejected. Then, cut work embroidery. I knew it would take forever and that once it was done it would be SUPER heavy. For our performance, I knew the dress need to spin and move...so I opted out of that. I tried various fray check like options but all of them left a residue on the fabric I wasn't a huge fan of.
In the end an after experimentation I settled on a technique I had used before on Reaif's Ike cosplay to get a ripped and weathered look without fray and ruin.
I first layed out the design on the fabric with a silver sharpie (on the reverse side) and cut out the center until the end of the marking. I then took my Wood burning tool (with a special attachment) and carefully melted all the edges together. This had the combined effect of searing the fibers together but also combining the silver sharpie ink and the darkened fabric fibers into a antiqued look. I was so pleased with the result!
For the bodice and sleeve butterflys, I did something similar. I took the pattern I had made and traced it onto craft fuse interfacing. I then used that as a guide for melting the fabric into shape. Once that was done I applied my flesh tone fabric (a color I had to search very hard for. I ended up with a mis dyed fabric to get the right one) to the back and sewed the whole thing to my bodice and sleeve pieces. I then melted the edges of all of them to the edges of the bodice pieces.
The necklace pieces was done similarly, but it had red fabric on both sides and then I attached the red pearls on the reverse side.
The whole dress had 100% finished seams and then zips up the back.
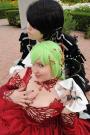
The head piece took about week to construct. All the pearls are hand painted to match the illustration. I carefully crafted the wire bits to match and all the bits are attached with super glue for security.
The wig I purchase off Ebay and styled it a bit. The contacts are from pinky paradise.
Add a Comment


-
 282216 Visitors
 -
- Cosplayer Info
- Costumes Worn
- Costumes Made
- Props
- Wigs
- Favorites
- Videos
- Convention History


Sorry, you must be a registered user of and logged in to view and add comments. Either log in or register now!